Next.js로 정적 웹사이트 만들기 - 3. 레이아웃
이전 글에서 프로젝트 구성을 하여 간단한 화면을 확인했었다.
이번에는 Next.js에 내장되어 있는 _document.js, _app.js, _error.js를 커스터마이징하여 레이아웃을 새롭게 구성하는 방법을 설명하려고 한다.
각각에 대한 설명은 Next.js 구조에서 확인할 수 있다.
_document.js 파일 생성
_document.js는 Next.js에서 서버 사이드 렌더링이 시작이되는 Document 파일이다.
즉, <html>, <head>, <body>를 포함한다고 보면된다.
그럼 pages디렉토리에 _document.js파일을 생성하고, 다음과 같이 작성한다.
import Document, { Head, Main, NextScript } from 'next/document';

export default class RootDocument extends Document {
    render() {
        return (
            <html>
                <Head>
                    <meta charSet="utf-8" />
                    <meta name="viewport" content="width=device-width, initial-scale=1.0, maximum-scale=1, user-scalable=no" />
                    <meta name="description" content="My First Static Website"/>
                    <meta name="keywords" content="nextjs,static,website" />
                    <style global jsx>
                        {`
                            html, body, #__next {
                                height: 100%;
                                width: 100%;
                                overflow: hidden;
                            }
                        `}
                    </style>
                </Head>
                <body>
                    <Main />
                    <NextScript />
                </body>
            </html>
        );
    }
}
<Head>안에 <script>, <meta>, <link> 등 리소스 및 Metadata들을 작성해줄 수 있다.
_app.js 파일 생성
_app.js는 어플리케이션이 시작되는 초기 페이지라고 볼 수 있다. 이 페이지에서는 라우팅을 통해 컴포넌트를 props으로 전달받기 때문에 공통의 레이아웃을 작성하여 모든 화면에서 같은 레이아웃이 나올 수 있도록 작업하거나, ComponentDidCatch와 같은 라이프 사이클을 통해 Error Handling을 할 수 있다.
pages디렉토리에 _app.js파일을 생성하고, 다음과 같이 작성한다.
import App, { Container } from 'next/app';
import Head from 'next/head';
import React from 'react';

const styles = {
    layout: {
        display: 'flex',
        width: '100%',
        height: '100%',
        flexDirection: 'column',
    },
    header: {
        height: 60,
    },
    main: {
        flex: 1,
    },
    footer: {
        height: 60,
    },
}

export default class RootApp extends App {
    render() {
        const { Component, ...other } = this.props;
        return (
            <Container>
                <Head>
                    <title>Static Website</title>
                </Head>
                <div style={styles.layout}>
                    <header style={styles.header}>Header</header>
                    <main style={styles.main}>
                        <Component {...other} />
                    </main>
                    <footer style={styles.footer}>Footer</footer>
                </div>
            </Container>
        );
    }
}
<header>, <main>, <footer>로 레이아웃을 만들고 props로 전달 받은 Component를 렌더링한다.
여기까지 작성한 다음 화면을 확인해본다.

Header, Static Website, Footer순으로 화면에 보인다.
이렇게 해서 pages에 페이지들을 추가하게 되면 Next.js에서는 URL에서 페이지 경로로 접근했을 경우 페이지에 작성된 Component를 전달해주게 되어 공통의 레아이웃으로 화면은 구현할 수 있게 된다.
_error.js 파일 생성
Next.js에서는 pages에 없는 경로로 접근했을 경우, 내장되어 있는 Error 페이지를 보여주게 되어있다.
마찬가지로 Error 페이지도 새롭게 작성할 수 있다.
pages디렉토리에 _error.js파일을 생성하고 다음과 같이 작성한다.
import React, { Component } from 'react';

export default class RootError extends Component {
    render() {
        return 'Error!';
    }
}
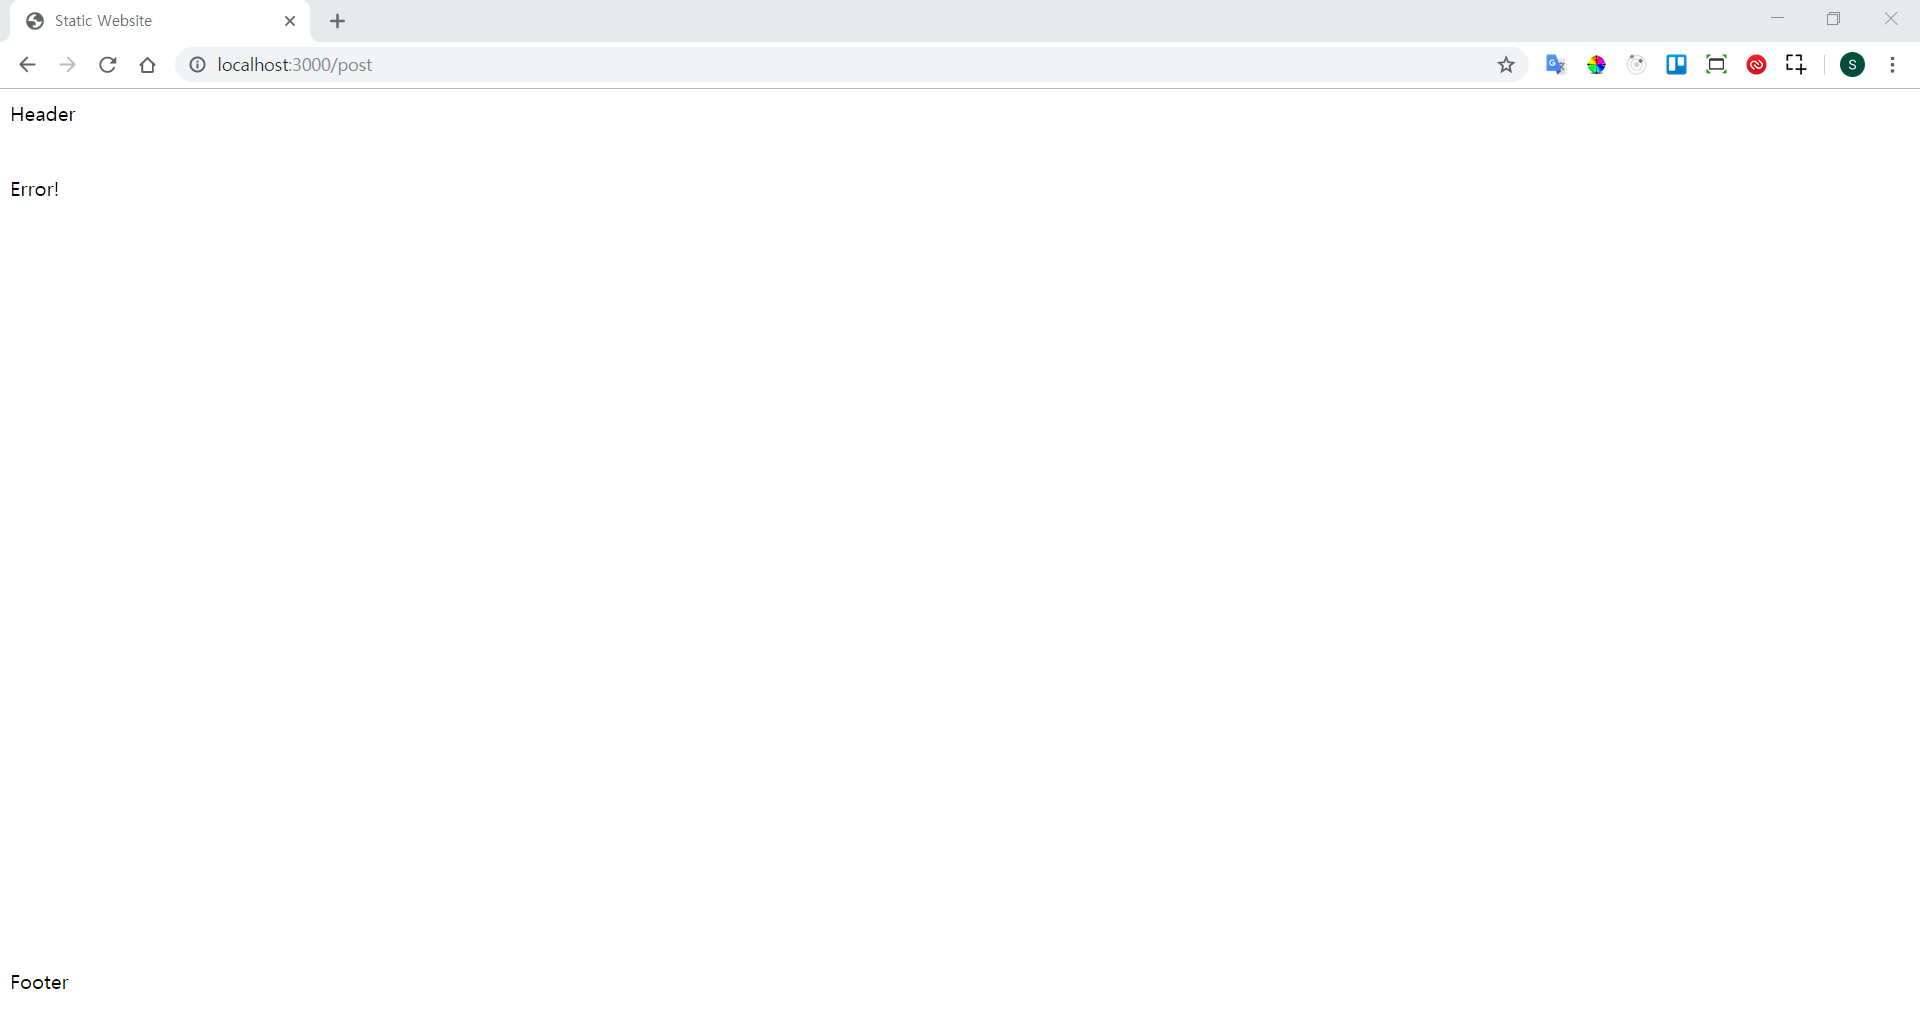
작성한 후에 현재 경로에 /post를 붙여 URL에 접근해보면 다음과 같은 에러 화면을 확인할 수 있다.
여기까지 레이아웃을 구성하였다면 pages에 새로운 페이지를 만들어서 확인해본다.
post.js 파일 생성
pages디렉토리에 post.js파일을 생성하고 다음과 같이 작성한다.
export default (props) => {
    return (
        <div>
            First post page
        </div>
    );
}
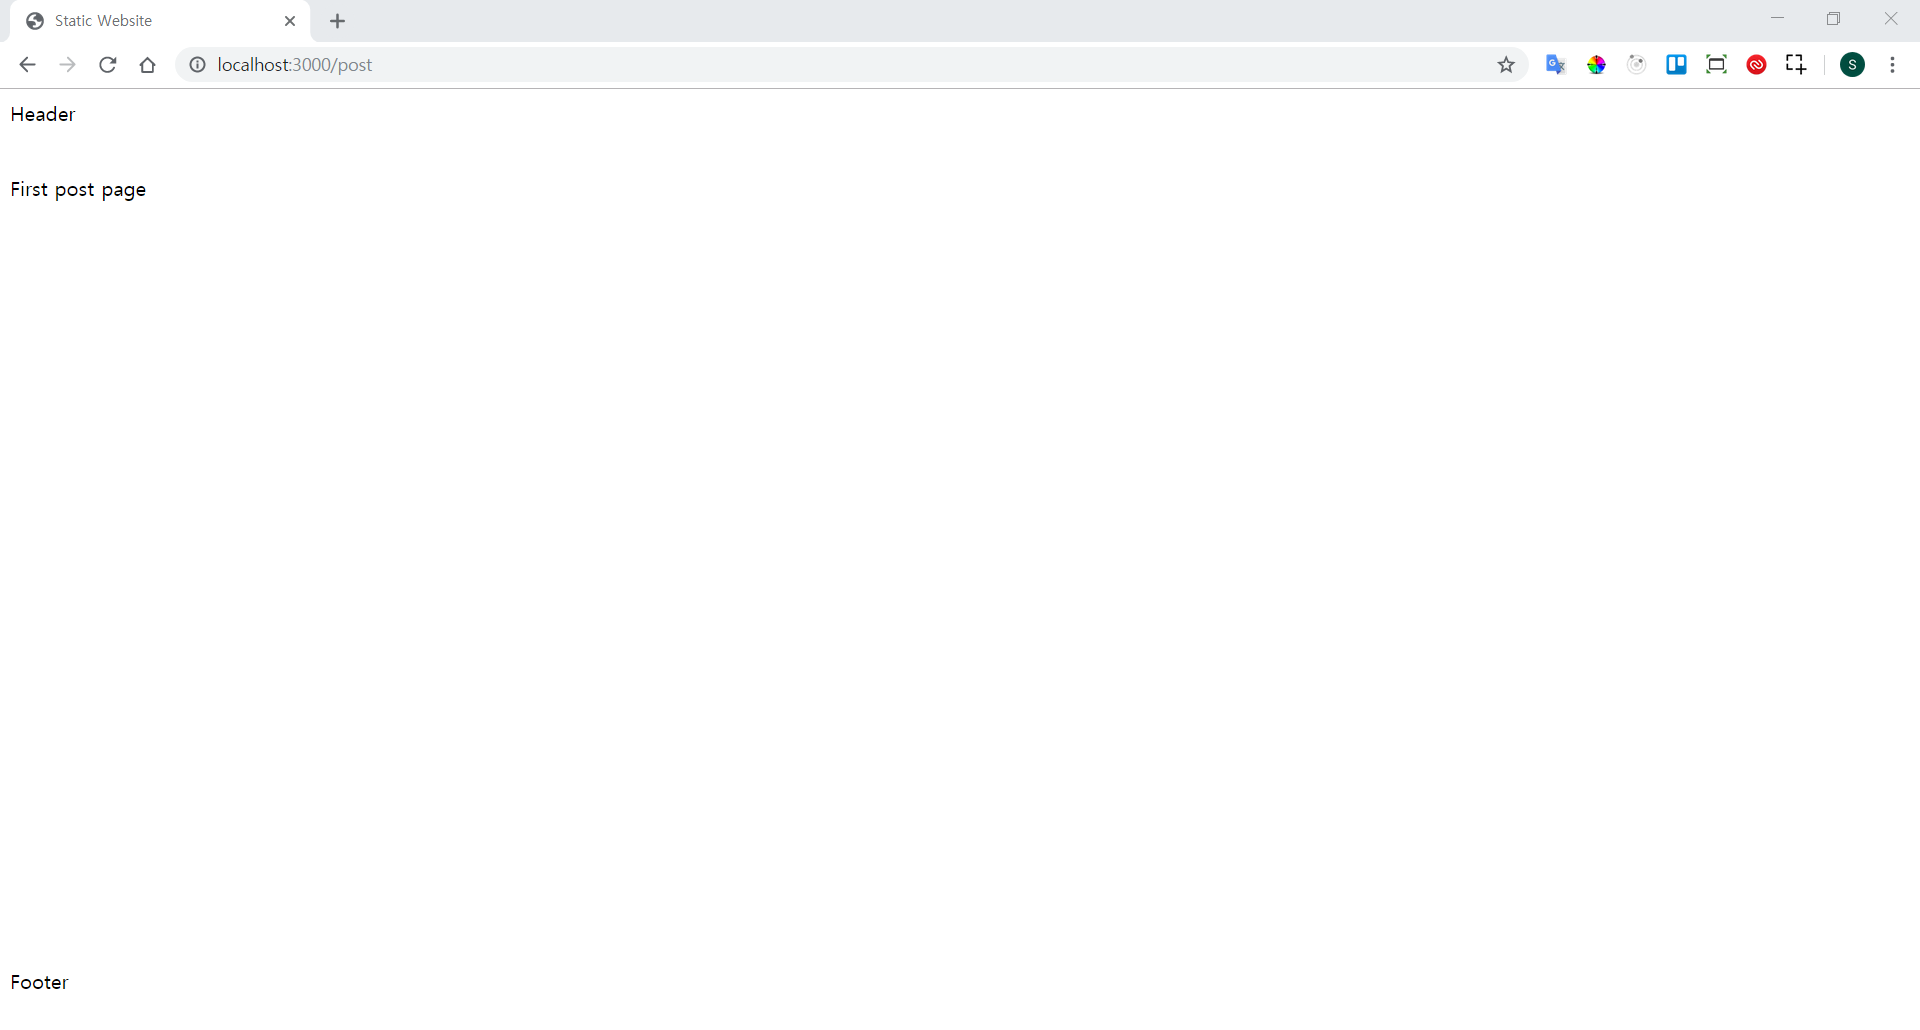
post.js를 만들기 전에 /post경로로 접근했을 때는 에러가 났었지만 이제는 First post page라는 문구로 화면에 에러없이 나오는 것을 확인할 수 있다.
Next.js로 정적 웹사이트 만들기 목차
